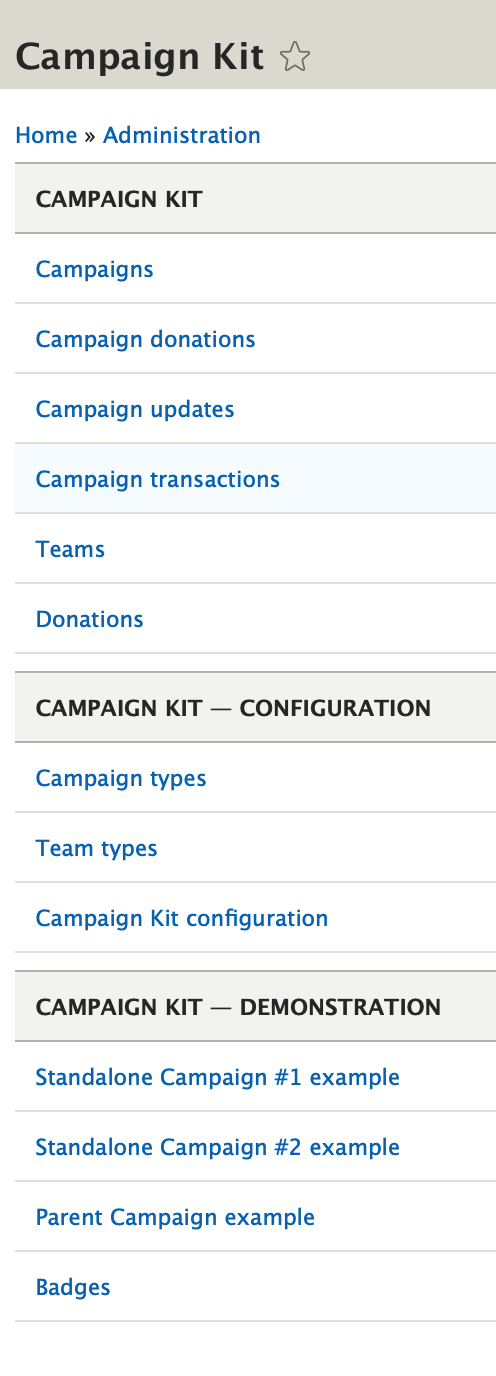
When the demo module is installed, click on the Campaign Kit menu. You will see the menu below, now with a entries in the Demonstration area at the bottom. Click on those to links to see what a campaign looks like and to enter test donations.

Enter a Test Donation
To enter a test donation, perform the following steps.
- Set up a test Stripe account at their website.
- From the Stripe dashboard, API section, create the Publishable Key, the Secret Key and the Webook Secret API keys. Be sure you have clicked "Viewing testing data" before creating API keys or you will create them for the live account.
- Enable the Stripe, Payment Stripe and Campaign Kit Demo modules at /admin/modules or use drush:
drush en -y stripe payment_stripe campaign_kit_demo. - Configure the Stripe module at /admin/config/stripe. In the Test environment configuration area, enter the Publishable Key, the Secret Key and the Webhook secret.
- Add the Stripe payment plugin to the Payment module in the Payment configuration. From the Drupal menu, click on Configuration | Web Services | Payment | Payment | Payment Methods.
- Click the Add payment method configuration button.
- Click the Stripe Payment link. A new page will appear.
- For Label, type "Stripe".
- Click Save.
For the credit card, use the following:
Number: 1111 1111 1111 1111
Expiry Date: 01/20
CIC: 999
Leaderboard
Standalone Campaign #1 has transactions that belong to teams. To see the campaign leaderboard, do one of the following:
- Go to the Campaign List by choosing Campaign Kit | Campaigns from the menu.
- Click the drop down menu beside Standalone Campaign #1 and choose Leaderboard.
Or visit <your_domain>/campaign/standalone-campaign-1-example/leaderboard.

